

Editing videos on your iPhone is easier than you might think. Whether you want to trim out the boring parts of a home video or cut a funny moment from a longer clip, your iPhone has you covered with built-in tools. Let’s dive into how you can cut videos on your iPhone, step by step.
1. Open the Photos App
First things first, you’ll need to open the Photos app. This app is where all your videos and photos are stored. Here’s how to get started:
- Locate the Photos App: Find and tap on the Photos app icon on your iPhone’s home screen.
- Select the Video: Browse through your albums or use the search function to find the video you want to edit.
2. Enter the Editing Mode
Once you have the video you want to cut, it’s time to enter the editing mode:
- Tap on the Video: Open the video by tapping on it.
- Tap Edit: In the upper-right corner of the screen, you’ll see an “Edit” button. Tap it to enter editing mode.
3. Trim Your Video
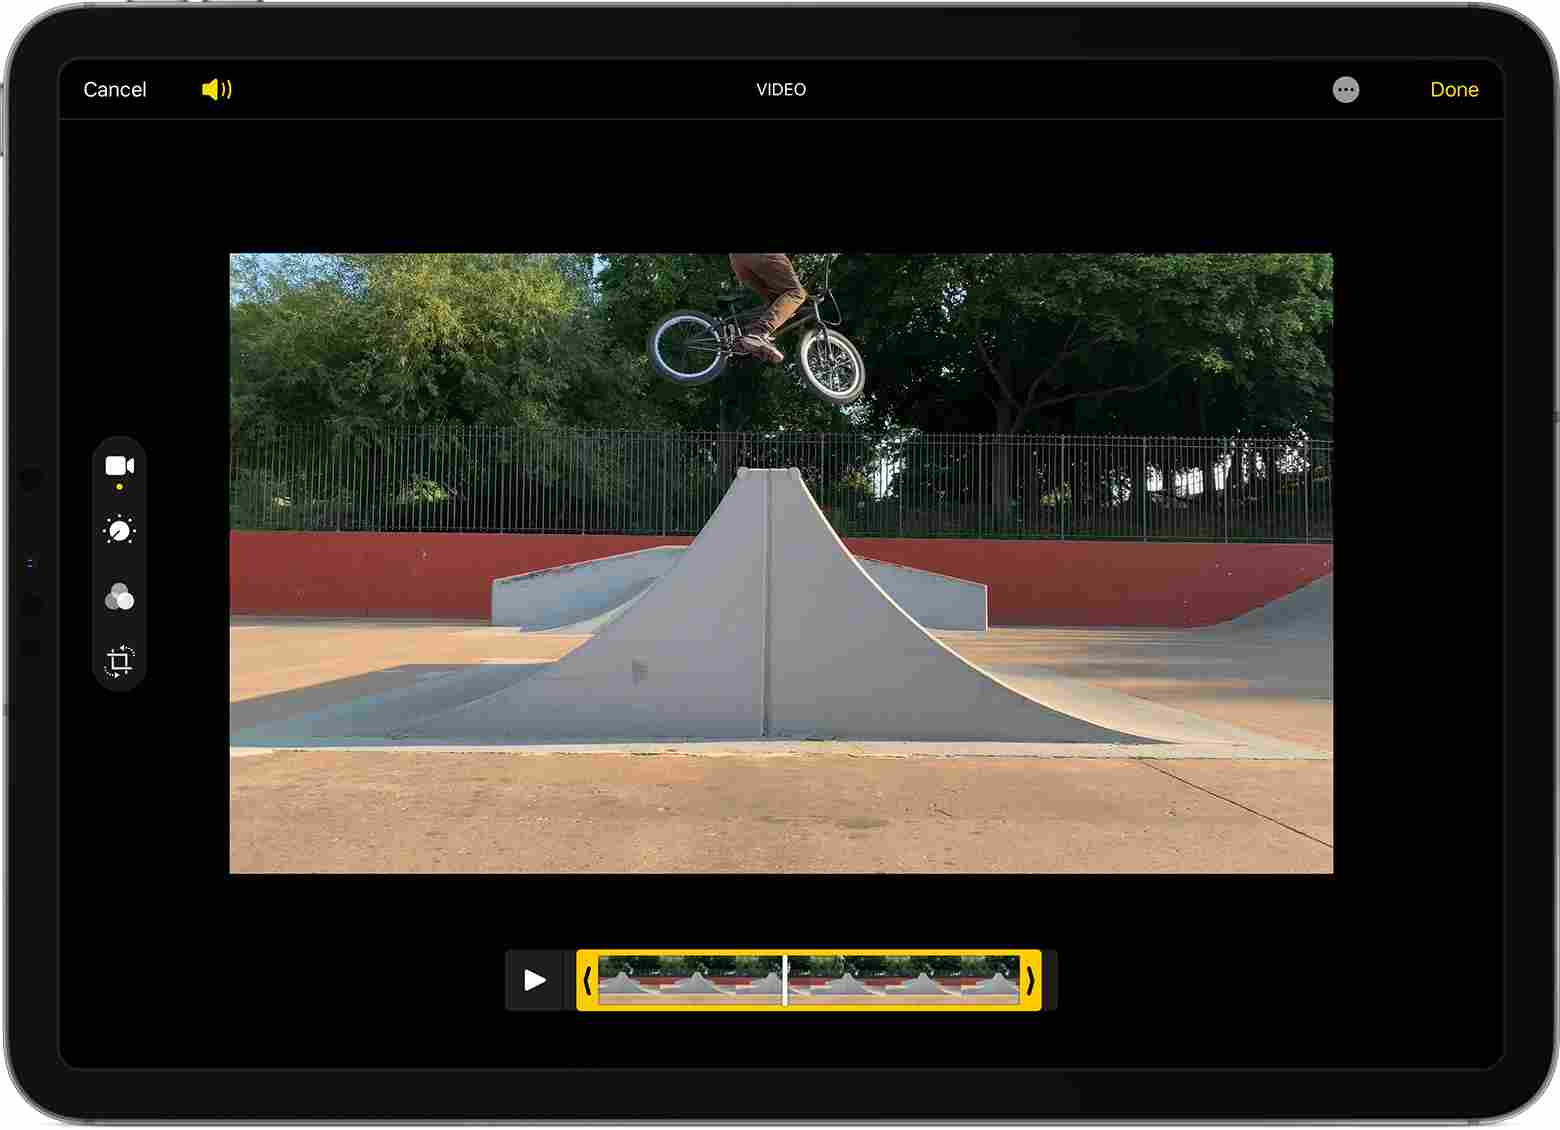
Trimming your video is the easiest way to cut out unwanted parts. Here’s how to do it:
- Use the Trim Tool: At the bottom of the screen, you’ll see a timeline of your video. Drag the arrows on either side of the timeline to adjust the start and end points. Move the arrows inward to cut out sections from the beginning or end of the video.
- Preview Your Changes: Tap the play button to preview the trimmed video. This ensures you’ve cut the video exactly how you want it.
- Adjust if Needed: If you need to make further adjustments, just drag the arrows again until you’re satisfied.
4. Save or Revert Your Changes
After trimming the video, you have a couple of options:
- Save the Changes: Tap “Done” to save your trimmed video. The original video will be replaced with this new version, but don’t worry—you can revert to the original if needed.
- Revert to Original: If you’re not happy with the changes, you can revert to the original video. To do this, go back to the Photos app, select the video, and tap “Edit” again. Then tap “Revert” to restore the original video.
5. Advanced Editing Options
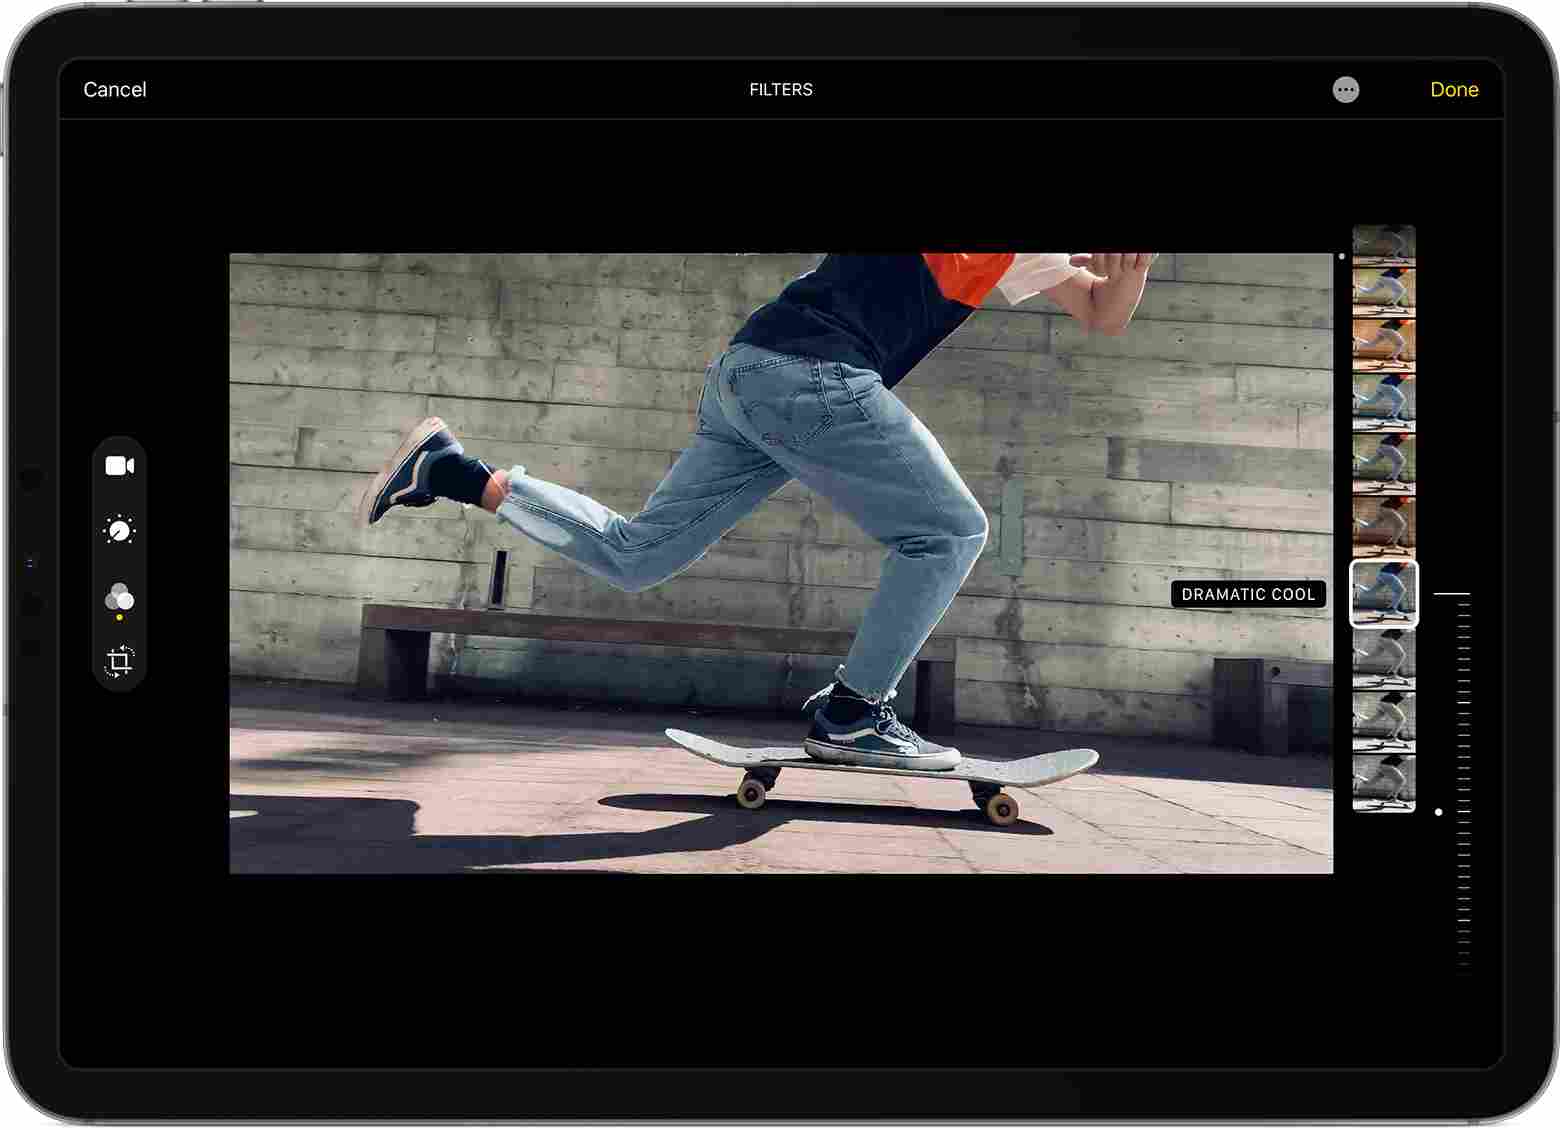
If you need more advanced editing options, like adding filters or text, you might want to use a third-party app. Here are some popular choices:
- iMovie: This app provides more robust editing tools, including cutting, adding transitions, and even creating movie trailers. Download iMovie.
- InShot: Known for its user-friendly interface, InShot allows you to trim videos, add music, and apply various effects. Download InShot.
- LumaFusion: For more professional editing, LumaFusion offers advanced features like multi-track editing and color correction. Download LumaFusion.
6. Share Your Video
Once you’ve cut and edited your video, you might want to share it with friends or on social media. Here’s how:
- Tap the Share Button: After editing, tap the share icon (a square with an arrow pointing upward) located at the bottom of the screen.
- Choose How to Share: Select from various options like messaging, email, or social media platforms. You can also save the video to your Files app for later use.
Additional Tips
- Use iCloud: If you’re running out of storage, consider using iCloud to back up your videos and free up space on your iPhone. Learn more about iCloud.
- Update Your iOS: Ensure your iPhone is running the latest version of iOS for the best editing experience. Check for updates in Settings > General > Software Update.
- Explore Tutorials: For more detailed guides on video editing, YouTube has numerous tutorials that can provide additional tips and tricks.
Conclusion
Cutting videos on your iPhone is a straightforward process, thanks to the built-in tools and user-friendly interface. Whether you’re trimming a video for personal use or preparing content for social media, these steps will help you get the job done quickly. For more advanced edits, consider exploring third-party apps that offer additional features
Related: How to Make a Picture Collage on iPhone: Simple and Easy Steps for Anyone